
Destiny 2; Enigma Protocol – A Guide To Final Completion
Destiny 2; Enigma Protocol – A Guide To Final Completion
The Final Shape furtherance for Destiny 2 is now out, and participants can now play the Enigma Protocol in the Echoes activity. It is suggestive of the Season of the Splicer event from a few years ago, and the Enigma Protocol was intended specifically for three individuals to complete and enjoy. It is also scheduled so you must complete it before it runs out. This can make everything challenging so knowing the ins and outs ahead of time is necessary for an enjoyable race.
With the launch of Destiny 2’s The Final Shape, players may enjoy various new items, targets, and activities. The Enigma Protocol is the first Echo in Act 1 that you can use till the act ends. Nevertheless, you must finish a few steps to begin the Enigma Protocol activity.
Destiny 2 Enigma Protocol Explained

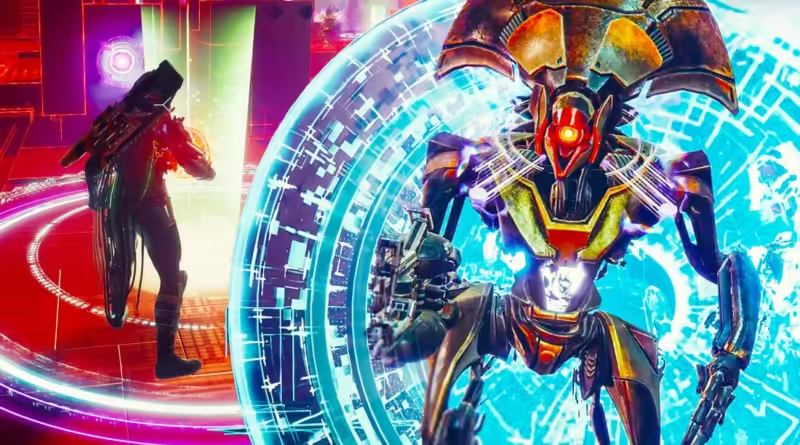
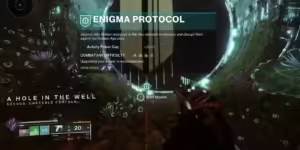
The Enigma Protocol task is a new three-player action that takes place on the Nessus VexNet. Halt their search for Golden Age data once time runs out, and you’ll be rewarded handsomely. If you haven’t unlocked it yet, you can accomplish the Destiny 2 Encoded Log task from Failsafe in the HELM. After left open you can play it at any time via the activity node on the map. There is also a second constitute called Enigma Protocol: Corrupted Data, though it’s not yet available.
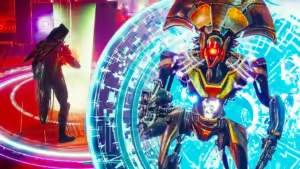
The mission itself is made up of challenging platforming and Sparrow driving sections that ultimately take you to a portal to an objective area; wrap up the objective, then leg it to the next portal, and so on until you identify a loot chest. These objectives pertain to charging a Radiolite Circuit in moving charging pools, eliminating shielded Harpies with exploding spheres, breaking pink pods and collecting the things that they drop, and eliminating Vex bosses.
Once you conduct the loot chest, you may decide to continue playing or restart the activity. If you would like to keep going for better Enigma Protocol cash prizes, leap through the portal and go as usual, eventually facing the huge Vex boss to obtain another loot chest. Once you’ve looted this chest, the challenge ends.
Looting Multiple Chests in the Enigma Protocol
There will be two primary phases to the action, each containing a loot chest at the finish-up. You will travel through a succession of platforming sections and arena objectives before reaching a treasure chest, wherein you can either proceed with the second loot box or restart the activity. If you opt to continue playing, you will have to confront a Vex Minotaur, a boss from Destiny 2, before receiving a better loot chest.
If you want to reset the mission, make use of the Force Reboot Network Instance button; otherwise, access the portal to continue. The loot chests are usually utilized to gain Season of Dawn weapons, but you might also find a rare emblem as an incentive to keep sprinting.
Encounters In The Enigma Protocol
In Act I, it appears that most of the encounters are the same as you proceed through The Enigma Protocol. This makes sense given that it allows you to steadily increase your speed as you become increasingly comfortable with each encounter. To witness someone completing the entire run, watch YouTuber Esoterickk. The encounters are presented in the table below, along with some details about each one:
Networked Grid 1
A platforming phase where it’s necessary to get to the far side and enter a portal.
Grid 1 – Experimental
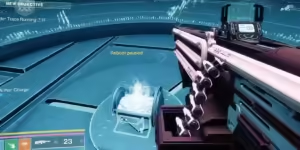
The target arena demands one of you to take the orange ball and charge it to full power, which can be performed in light walls. Once charged, complete the mission by dropping it in the receptacle in the center of the room.
Networked Grid 2
This is a platforming section with more curves and obstacles than before. If the next waypoint is not obvious right away, explore in corners and around walls.
Grid 2 of the experiment
Kill the Goblins to collect extra orange balls, then use them to activate the Vex Portal and destroy the floating Harpies.
Bridge 1
A platforming section that includes a sparrow track. Shoot the silver diamond to build the sparrow track, then hop on. It will take you automatically, but keep an eye out for the yellow diamonds.
Archival Grid 1
This area holds the first loot chest as well as the two alternatives for continuing, providing a breather from the rush.
Networked Grid 4
Another platforming run, but this one is full of opponents that you must destroy or avoid.
Grid 3 – Experimental
Shoot the bubbles to release Pink Motes of Encrypted Golden Age Data.
Networked Grid 3
This is a lengthy platforming section featuring competitors, gaps, and extremely limited paths. This one is numbered out of numerical order in the game.
Grid 4 is an experimental
The lone sincere boss fight in the group takes on a Vex minotaur boss designated Ainigmatos, The Indecipherable Proto-Mind. Once defeated, quickly enter the portal that appears to complete the run.
Bridge 2
Jump back aboard the sparrow track and ride it out automatically again.
Archival Grid 2
This is the second loot chest room and represents the end of The Enigma Protocol.
Once you’ve completed your run, you can collect your loot and select what you want to cease or try another run for even more loot. With more practice, you can improve your time and attempts for the best run and loot in Destiny 2’s The Enigma Protocol.